Mastodon.Uno è il servizio del Fediverso offerto e gestito da Devol
guida di installazione ed utilizzo sulle release 11 e 10 Plus
Julian Del Vecchio 02/12/2024 0
Vi abbiamo annunciato giorni fa la collaborazione tra Ufficio Zero Linux OS e Devol ma oggi scendiamo nel dettaglio per il social Mastodon.Uno gestito da Devol.
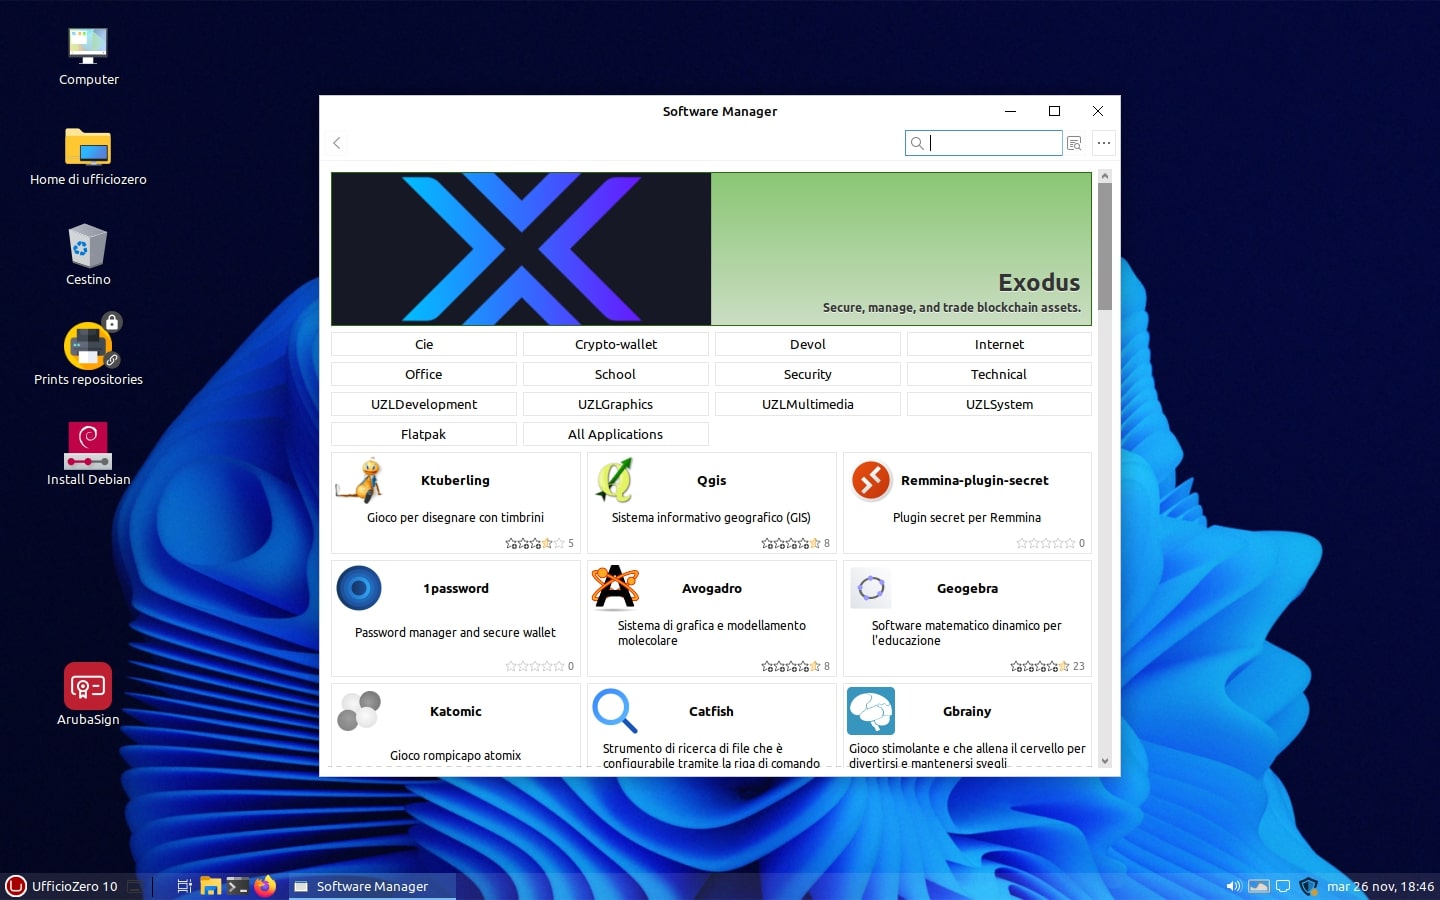
Sulla release 10 Plus è possibile installare il social alternativo a X/Twitter aprendo il Postinstall e cliccando sulla sezione Devol.
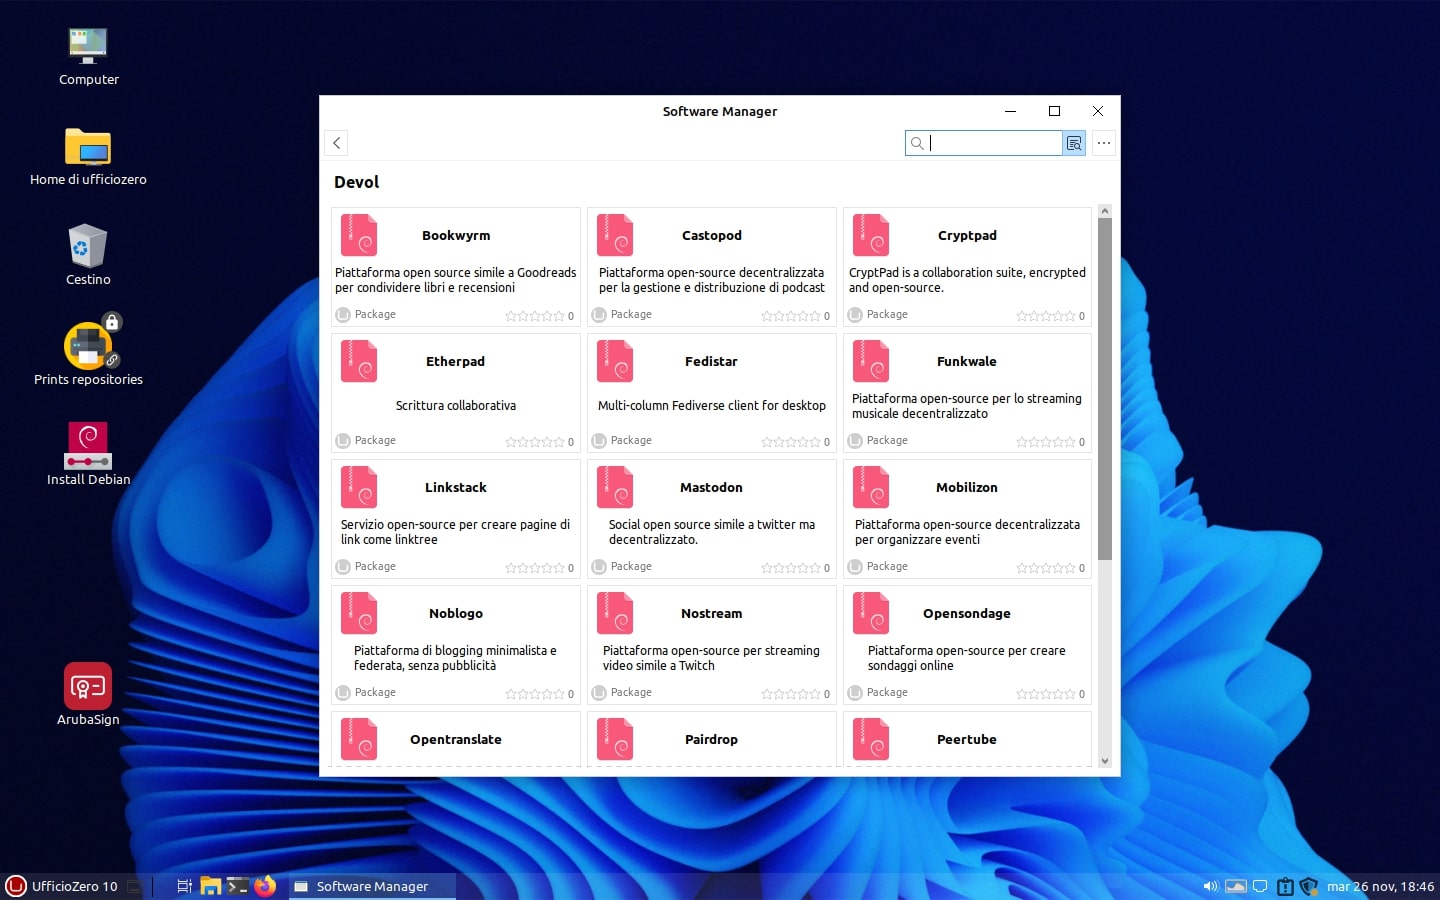
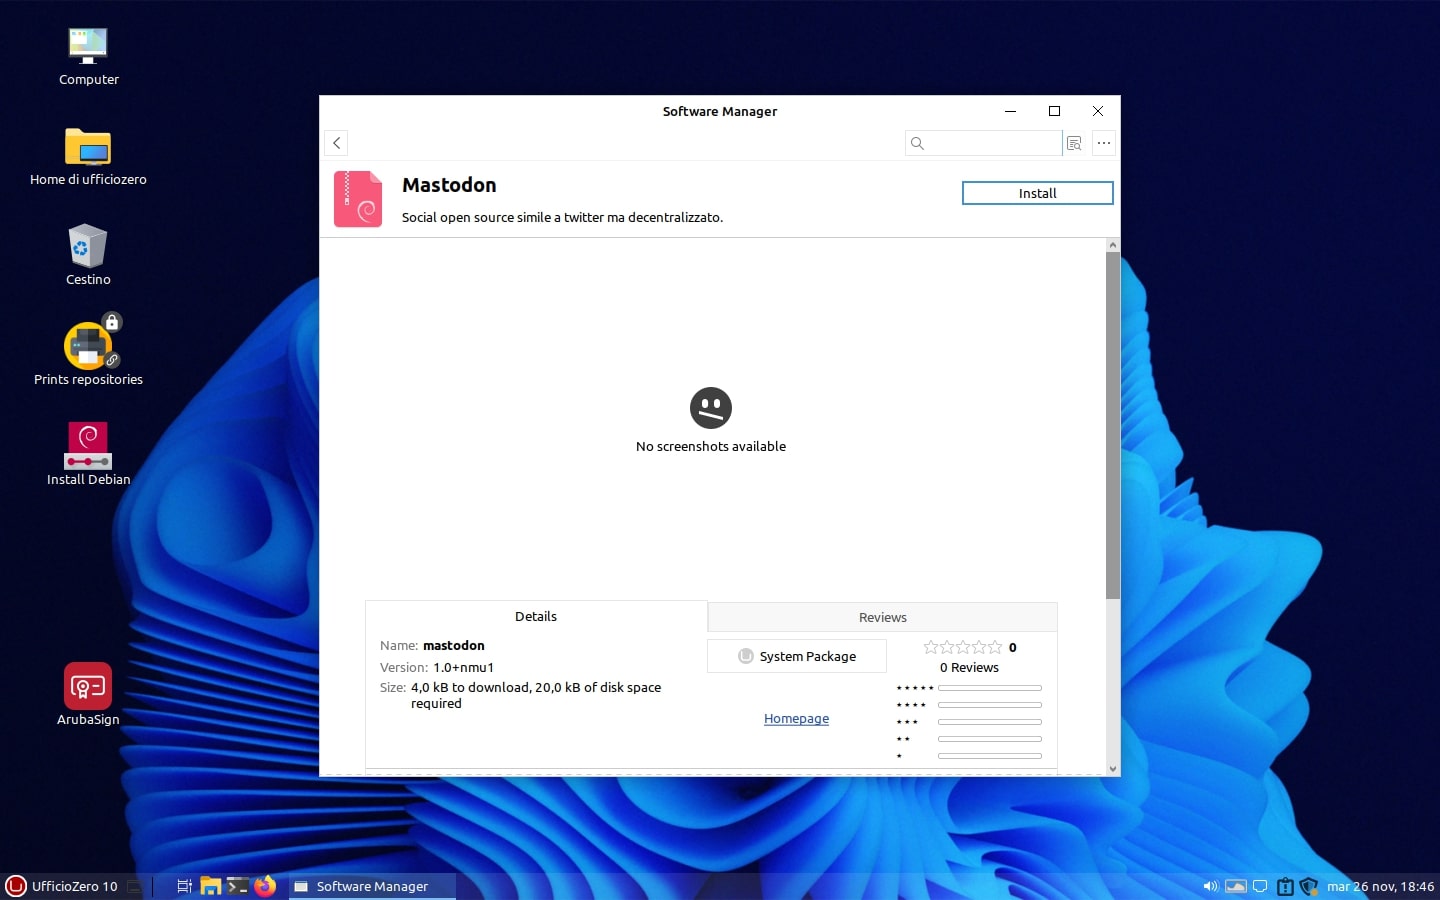
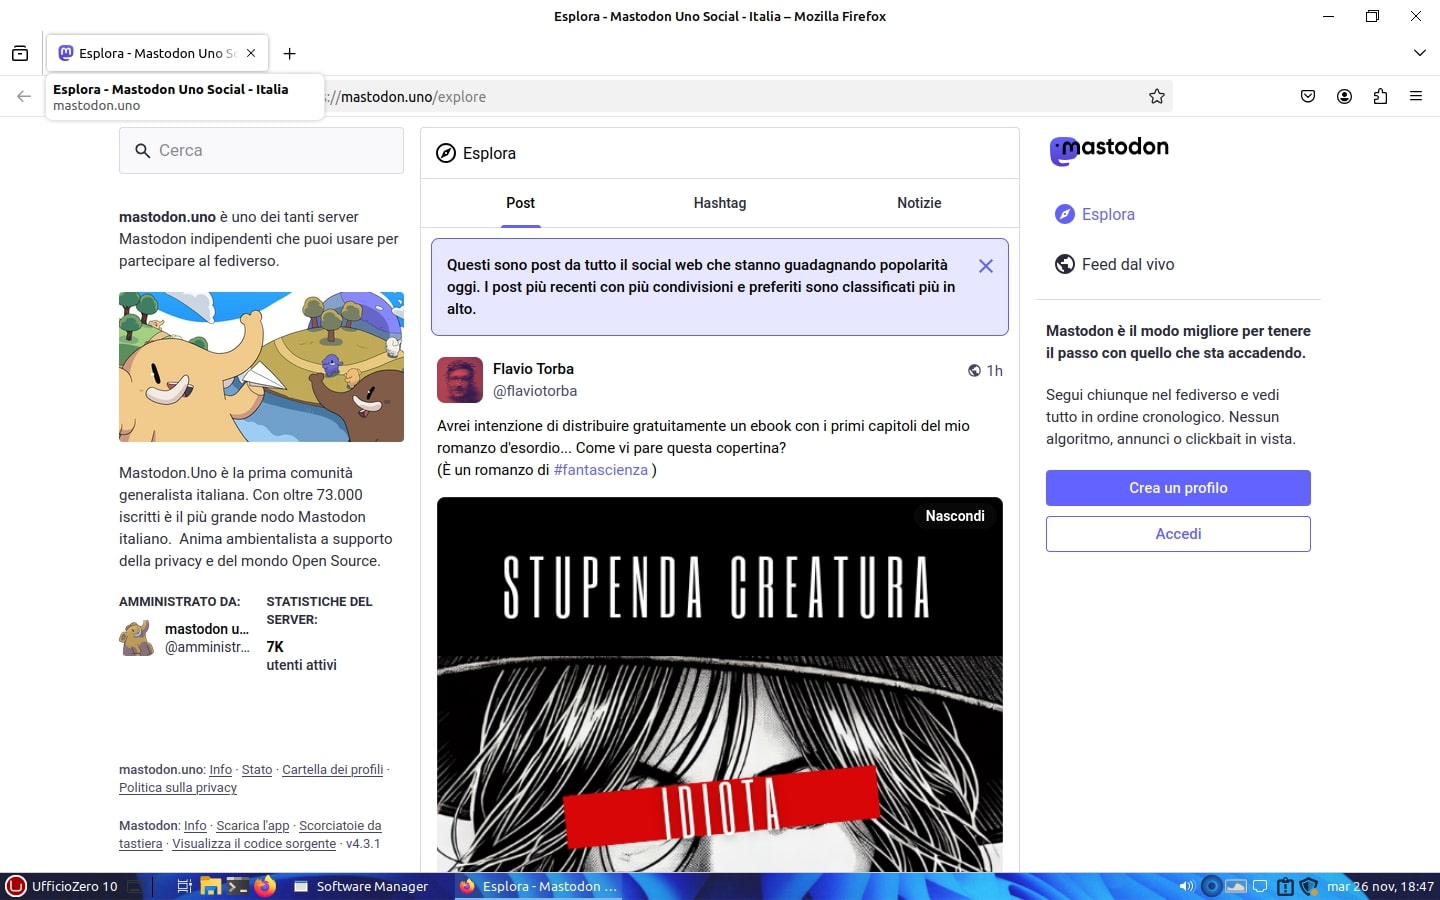
Entrati nella schermata con le varie applicazioni offerte dagli attivisti di Devol, si può selezionare ed installare il servizio Mastodon e, ad installazione conclusa, recandovi nel menu principale di Ufficio Zero Linux OS 10 Plus, nella categoria Web troverete il link al servizio mastodon.uno
Potete cliccare ed avviare mastodon su pagina web, creare un vostro account ed infine potete decidere se utilizzare il browser web per i vostri tooth oppure scegliere se installare uno dei client messo a vostra disposizione tra Fedistar o Whalebird, sempre tramite il Postinstall nella categoria Devol.
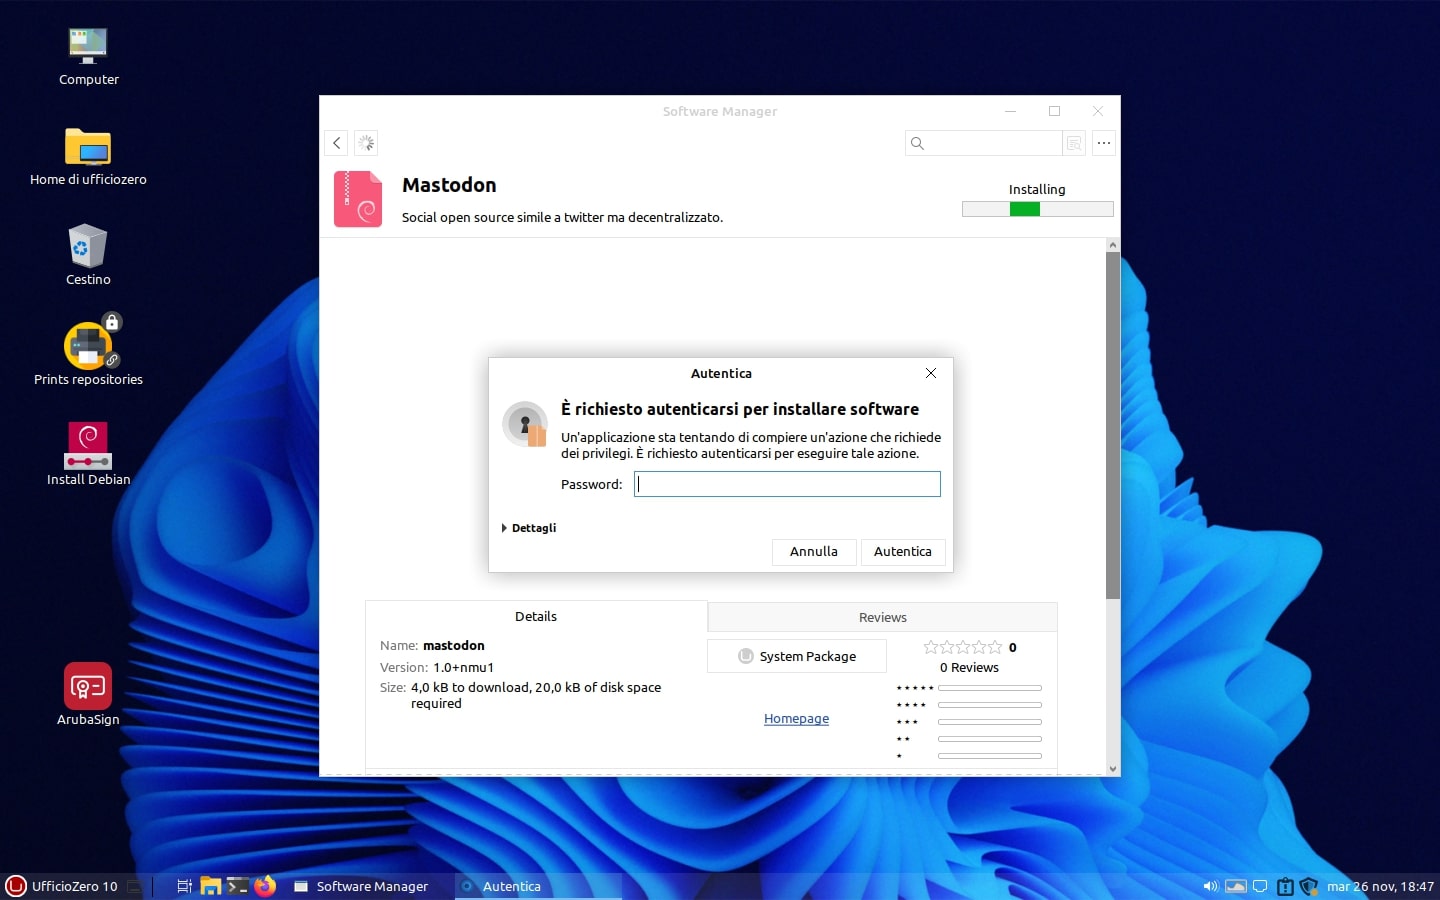
Di seguito una panoramica dei passaggi di installazione di Mastodon.uno targato Devol!
Il meccanismo di installazione di Mastodon.uno e di altri servizi gestiti da Devol è lo stesso anche sulla release 11.
Anche Ufficio Zero Linux OS è attiva su mastodon.uno a questo link per cui potrete seguirci sul social network decentralizzato!
We announced a few days ago the collaboration between Ufficio Zero Linux OS and Devol but today we go into detail for the Mastodon.Uno social network managed by Devol.
On the 10 Plus release it is possible to install the alternative social network to X/Twitter by opening the Postinstall and clicking on the Devol section.
Once you have entered the screen with the various applications offered by Devol activists, you can select and install the Mastodon service and, once installation is complete, by going to the main menu of Ufficio Zero Linux OS 10 Plus, in the Web category you will find the link to the mastodon.uno service You can click and start mastodon on the web page, create your own account and finally you can decide whether to use the web browser for your teeth or choose whether to install one of the clients made available to you between Fedistar or Whalebird, always via the Postinstall in the Devol category.
Below is an overview of the installation steps for Mastodon.uno branded Devol!
The installation mechanism for Mastodon.uno and other Devol-managed services is the same on release 11.
Ufficio Zero Linux OS is also active on mastodon.uno at this link so you can follow us on the decentralized social network!
Potrebbero interessarti anche...
Julian Del Vecchio 14/09/2025
1 Milione di download su SourceForge.net
Abbiamo da poco superato quota 1 milione di download su SourceForge.net senza considerare i download tramite torrent!
E' fantastico e questo ci commuove, ci riempie il cuore di felicità ma, soprattutto, ci rende orgogliosi dei passi fatti finora, dall'Aprile 2020, data in cui abbiamo deciso di riprendere in mano il progetto Ufficio Zero Linux OS, defunto già da svariati anni e passato nell'oblio.
Non vi nascondiamo che per noi è stata una fatica continua (ed ancora lo è) dover configurare e manutenere tutti i servizi mainstream ed upstream per darvi sempre la migliore esperienza, senza considerare i servizi web utilizzati ogni giorno e le immagini di sistema create finora. Ricordiamo alcune delle release iniziali ormai non più supportate: Roma, Vieste, Mantova, Portofino, Bergamo ecc.
Nel frattempo ci siamo uniti nell'associazione no-profit Boost Media APS per darvi servizi extra, gratuiti quali CurriVit, SitiGov ed altri ne stiamo creando e di certo la vostra esperienza d'uso migliorerà nel tempo poichè abbiamo in serbo per voi altre sorprese!
Ma adesso vogliamo ringraziare in ordine:
- Voi, i magnifici utilizzatori di Ufficio Zero Linux OS
- tutti i nostri donatori, grazie a loro possiamo coprire parte delle spese per i servizi attivi
- tutti i volontari di Ufficio Zero Linux OS
- Boost Media APS ed i suoi soci per le numerose campagne attive (finewin10.it, finemacos.it, edulinux.it) e per i software finora creati e rilasciati sulle nostre release
- I divulgatori che hanno rilasciato recensioni sulle nostre release (fortunatamente ne sono tanti e non li elenchiamo per paura di tralasciarne qualcuno per errore)
- Gli Sponsor: Infomaniak The Ethical Cloud & SIITE SRLS
- I partner: SourceForge.net & gli attivisti Devol
- Italian Linux Society per il patrocinio etico concesso
- Tutti i nostri mirror (ne sono parecchi): Garr Consortium, Infomaniak, L'Università di Creta, L'Universita di Varsavia, L'Università di Aalborg, ACC, Quantum, Nluug, DistroHub, Aarnet e Yandex
Insieme abbiamo ancora molta strada da fare e siamo qui per restare!!!
Gli invidiosi li lasciamo ad altre distribuzioni GNU/Linux ed altre associazioni e, chi non capisce cosa facciamo, può abbandonare felicemente la lettura di questo articolo e dei nostri portali e social.
Abbiamo bisogno di menti pensanti "Cogito ergo Sum" e non di persone che farneticano, pertanto se anche tu vuoi sostenerci o unirti a noi, saremo felici di accoglierti, senza alcun pregiudizio da parte nostra.
1 milione di volte Grazie!
Julian Del Vecchio 08/04/2023
installare Bitwarden, Google Chrome ed Exodus sulla 10 Basic
Questo video fa parte delle brevi panoramiche che continueremo a pubblicare, per migliorare l'esperienza di utilizzo di Ufficio Zero Linux OS 10 Basic.
In particolare vedremo di seguito una breve guida su come utilizzare il Postinstall per installare le applicazioni:
- Bitwarden (gestore password)
- Google Chrome (in versione stabile)
- Exodus (portafoglio di criptovalute)
e per avviare le applicazioni installate.
This video is part of the short overviews that we will continue to publish, to improve the experience of using Office Zero Linux OS 10 Basic.
In particular, we will see below a brief guide on how to use Postinstall to install applications:
- Bitwarden (password manager)
- Google Chrome (stable version)
- Exodus (cryptocurrency wallet)
and to launch installed applications.
Julian Del Vecchio 06/04/2023
Nuovo repository rpm per le stampanti
Una delle più frequenti ricerche da parte degli user di Linux riguarda il driver delle stampanti.
Sebbene la release Cagliari utilizzi il repository di PCLinuxOS, che comprende un numero veramente cospicuo di driver per le stampanti, abbiamo pensato di creare un ramo a parte dove trovare pacchetti più aggiornati e specifici per molte delle stampanti in uso.
Chiaramente non è possibile inserire tutti i driver ma saremo lieti di inserirne altri su vostra richiesta con una mail a: dev[at]ufficiozero.org
One of the most frequent searches by Linux users concerns the printer driver.
Although the Cagliari release uses the PCLinuxOS repository, which includes a very large number of printer drivers, We decided to create a separate branch where you can find more updated and specific packages for many of the printers in use.
Clearly it is not possible to insert all the drivers but We will be happy to insert others upon your request by sending an email to: dev[at]ufficiozero.org